People have become attached to the internet more so than ever before. They heavily rely on this tech to connect with their friends and families. Also, by having a solid internet connection, people can easily entertain themselves by watching their favorite movies or shows on different streaming services. They can also do that while on the go if they are only using the services of a reliable provider such as Cox mobile services. Considering how much everyone is crazy about the internet, it is understandable why they feel the urge of being connected at all times. This also explains why guests always ask for your Wi-Fi password the moment they enter your home.
Table of Contents
Sharing the Wi-Fi Password Could Present a Network Security Risk
You may not know this but sharing the Wi-Fi password can put the network security at a risk. How? Well, imagine if your guest downloads a harmful file that has a lot of viruses. Or, what if they connect an infected device to your home network. This might damage the network security, making it vulnerable to various online attacks. Therefore, it is a good thing that opting for any Cox internet plan will give you a free antivirus suite that will keep you protected. However, the question remains; how can you keep your home network protected? The answer is simple; set up a guest W-Fi network!
How to Setup a Guest Wi-Fi Network
Whenever a guest visits your place, the individual is going to ask for your Wi-Fi password. This has become a common behavior and is expected of them. So, why not amaze them with a super-fast connection. And different Cox Wi-Fi plans are going to help you out in this regard as all of them offer a pretty decent speed. Let’s now look at the five ways to find out how you can set up a guest Wi-Fi network.
#1. Log in to Your Router
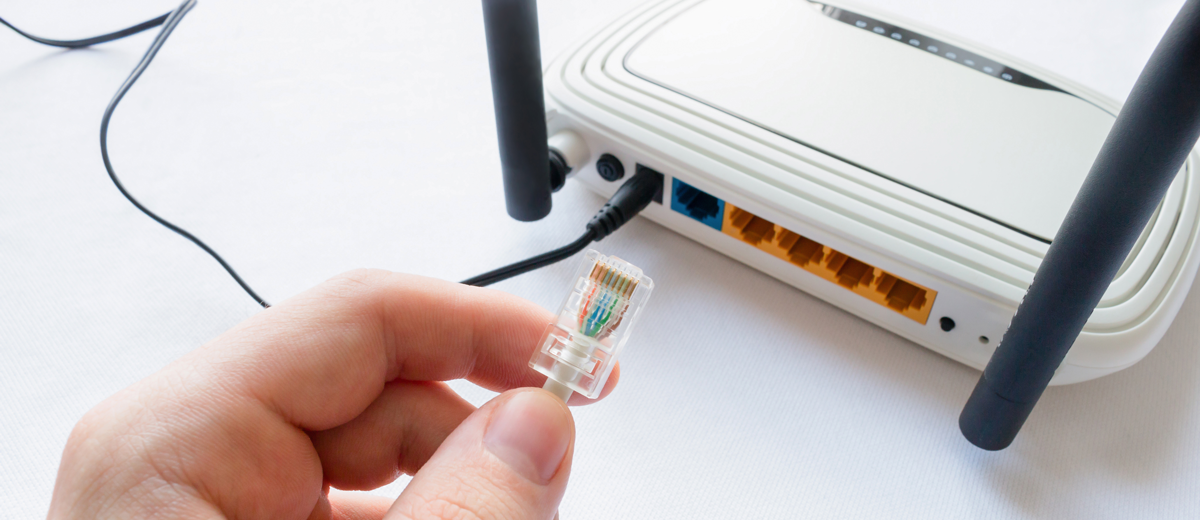
The first thing that you will need to do is to log in to your router. You can do that by simply launching a browser and then entering the IP address of your router which is usually 192.168.0.1 or 192.168.1.1. However, remember that in some cases a router may have a completely different IP address. It may even have an app that you can use to access the settings. If you are unsure about the IP address then there is no need to worry. Just have a look at your router and you will be able to find it at the back or on the side of the device. If not then it must be mentioned in the user manual.
#2. Enter the Credentials
Once you have found the IP address, enter it in the browser. Now, a page will open that will ask you for the credentials. This information can be located at the back of your device. If not then look for it in the user manual. In many cases, the username is “admin” and the password is either “password” or “admin”. Once you have found the credentials, it is highly recommended to change them as soon as possible. This is because hackers will easily be able to break into your network.
#3. Switch the Guest Wi-Fi Feature On
After you have entered the credentials, you will be able to access the settings of the router. You will now have to look out for a guest Wi-Fi feature. This will usually be located in the Guest Network tab or Wi-Fi Settings. Once you find it, simply enable the option.
#4. Decide a Name
Now, the next step is to decide a name for the name of the SSID of the network. Also, if there is an option of disabling access to your local network then do activate it. While thinking of the SSID of your guest network, keep in mind to select a name that is identical to your own personal network. This will let your guests know that they are using your connection. Also, while you have guests with you, why not entertain them a bit more by opting for the Cox TV packages. After all, it has an impressive lineup of channels that your guests will truly appreciate.
#5. Select a Password
Once you have decided on the name, it’s time to create the password for the guest network. However, make sure that you select a strong password so that others may not be able to use it. While creating a password, do remember that it has to be simple enough for you to remember it. If you think that it is going to be a bit difficult to do so then you can simply note it down. You can also enable any other options that may seem necessary for you. For instance, you can restrict the access of your visitors to your personal files.
Conclusion
And there you go! You have just created a separate network for your guests. Now, whenever you have some company in your home and they ask you for your Wi-Fi password, you can ask them to connect to the guest network and provide them with the password.